Kepyil
How to make a graduation yearbook: an eight-week step-by-step guide
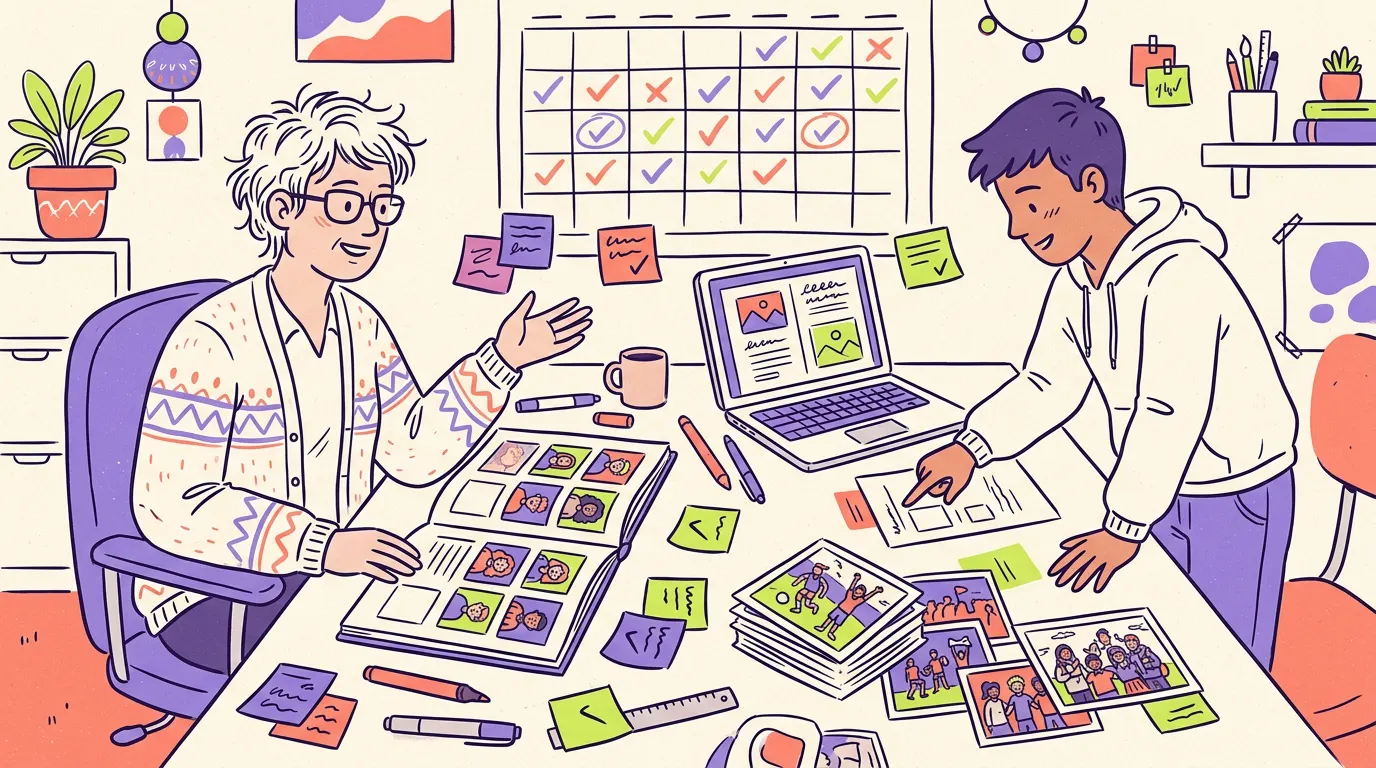
Making a graduation yearbook is easier than most people think, as long as you do things in the right order. What causes trouble is usually not the work but the sequence: layouts get built before photos are collected, printing starts before permissions are in, and checking is left for the last day. This guide walks through that order, week by week.
You might be a teacher, a class representative, a parent or school management. The steps are the same, and they apply whatever tool you use, because making a yearbook is first a question of a calendar and a division of work, and only then a file.
Who starts it, and who does what?
The first decision is not "I will do it" but "who is responsible for what". A small core team is enough:
- Coordinator: keeps the calendar and sends reminders. Usually the class teacher or class representative.
- Responsible adult: a teacher or parent who looks after suitability of content and consents. This is essential when students are young.
- Design volunteers: one or two students in charge of layout and cover.
- Message and photo tracker: keeps the list of who still owes what.
A student class representative can start the yearbook, but do not set off without a responsible adult, both for checking and because the data of minors is involved.
The eight-week timeline
Starting about eight weeks before graduation gives you a comfortable plan. You can do it faster, but you lose your margin for checking and printing. Here is a draft:
- Week 1: scope, team, consents, theme.
- Weeks 2 to 4: collect messages from friends, collect photos.
- Week 5: fill the gaps, add fun sections such as class superlatives.
- Week 6: layout and content check.
- Week 7: proof: everyone sees their own page and approves it.
- Week 8: final corrections, lock, then print or digital delivery.
If you plan to print, ask the printer for their turnaround time in the first week. That number sets the rest of your calendar.
Week 1: scope and consents
First, settle these questions:
- Is the yearbook for one class, several classes or the whole school?
- What will each student contribute: a photo, messages to friends, a short profile?
- Printed, digital, or both?
- How will the cost be shared? Will the class pay together, or will everyone pay their own share?
This is also when you start informing parents. A student’s photo and name are personal data, and for anyone under 18 a parent’s consent should be obtained. For which consents are needed and how to word them, see our article on yearbook privacy and parental consent. The most important rule: a child whose parent does not give consent should not be left out of the yearbook. Find a solution, such as showing initials instead of a photo.
Weeks 2 to 4: collecting messages
The heart of a yearbook is the messages friends write to each other. This is also where the hardest part begins: everyone says "I will write", and most leave it to the last day.
- Decide in advance who writes to whom. "Everyone writes to everyone" often ends with some people getting no messages at all. Make the pairing or the target visible.
- Give a writing guide. The fear of the blank page delays messages. Starting with examples, as in what to write in a yearbook, makes messages more thoughtful.
- Set a short length. Two to six sentences is a good range, so the page does not overflow.
- Send a weekly reminder. Reminding is the coordinator’s most important job.
- Have an adult read every message. Even small jokes stay on the page for years. Insults, personal details and hints should be removed.
Always count how many messages each student has received. If one student has five and another has one, the second page will look empty. In week 4, pull up this list and ask classmates to volunteer messages for those who have few.
Collecting photos, and consent
Photos come in two kinds: portraits and class memories.
- Portraits: keep similar lighting and size. A set of portraits taken on the same day in the same corner makes the layout look much better.
- Memory photos: trips, ceremonies, break time. Ask for original files, because screenshots come out blurry when printed.
- Consent: a student whose parent has not consented should not have their image in the yearbook. Take care with other people’s photos where they appear in the background too.
Add the student’s name to the file name (something like ayse-yilmaz.jpg). Once you start the layout in week 6, this small habit saves hours.
Theme and page layout
The theme gives a yearbook its character. It can be serious and classic, playful and game-like, or fairy-tale. The age of the students decides: colourful and cute for little ones, calmer or more fun for high school.
A few basic layout rules:
- Give each student roughly equal space. Someone who received many messages can use a bit more.
- Do not put too many things on one page. A readable text size matters.
- Do not forget the cover, the contents and the credits (class name, year, school).
- Give the fun sections their own pages: class superlatives, a memory wall, a page about the graduation ceremony. For category ideas, see class superlatives ideas.
Set one rule for votes like class superlatives: no category should embarrass the winner, and the winner should be able to decline.
Week 6: content and layout check
Once a yearbook goes to print, a mistake cannot be undone, so use a checklist:
- Is every student’s name spelled correctly, including accents and special letters?
- Does every photo belong to the right person?
- Are there typos, hurtful sentences, phone numbers or addresses in the messages?
- Is any text or photo cut off at the page edges?
- Does every page have at least one message?
Two people reading independently is better than one person reading three times.
Week 7: the proof and sign-off
The proof is a version very close to the final book, where everyone sees their own page and says "fine" or "this is wrong". Do not skip this step. A student whose name is misspelled keeps the book that way for years.
- Show the proof to everyone and set a deadline.
- Collect correction requests in one place.
- Once corrections are done, lock the content, so the "let me just add one more thing" period ends.
Week 8: print or digital?
Both routes are valid, and they do not exclude each other.
Printed yearbook
When you talk to the printer, ask: what file format they want (usually PDF), how many copies, cover and binding type, page limit, turnaround time, and room for corrections. Before approving the print run, ask the printer for a test print. Getting quotes from two different places is also a good habit.
Digital yearbook
A yearbook kept as a PDF or inside an app stays in everyone’s pocket, does not get crushed in a school bag, and reaches friends far away at the same time. Keep a backup of the file with a few people so it does not get lost.
Many classes choose both: a digital copy for everyone and a printed book for those who want one.
Budget and payment: talk about it first
Money causes the most tension in a yearbook project. Who pays how much, who collects the payment, will a student who does not pay be left out? Have the answers ready in the first week.
- Do not let one person collect the money. If possible, go through the school or a shared account.
- A child whose family cannot pay should not be missing from the yearbook. Find a way to cover it through class solidarity or school support.
- No price surprises: get quotes from printers or tools in writing and share them with parents.
What changes for younger children
In preschool and primary school, the yearbook is made by families and the teacher rather than by the children. A parent can write the message for the child, or the child can draw a picture. Consents belong entirely to parents, and the family’s wishes about both photos and data should be written down clearly. For more, see our guide to a preschool and primary school yearbook.
The five most common mistakes
- Leaving consents to the end.
- One person trying to collect all the messages.
- Not checking photo resolution.
- Skipping the proof and going straight to print.
- Not discussing who pays the cost at the start.
How Kepyil makes this easier
You can run every step above with a spreadsheet, a group chat and a shared folder, and many classes do. Kepyil was built to bring these into one place. It is a mobile app for iPhone, iPad and Android, and a teacher, a class representative student (13 or older; under 18 the parent consents first and a teacher or parent joins as the responsible adult), a parent or a school administrator can start the yearbook, for one class, several classes or the whole school. Friends join with the class link or QR code and the organizer approves them. Each student writes one message to each classmate, messages are checked automatically before they appear, and a teacher can see who has received few and ask classmates to write to them. The process runs inside the app from setup through collecting messages, final checks, lock and a watermarked proof that everyone checks, to finalizing. The digital yearbook and its PDF open for everyone in it.
For students under 18, the parent gives separate consents (data processing, storage abroad, photos, which are optional, and AI moderation, which is also optional), and the school is the data controller. Teachers and parents use the app for free, and collecting messages and looking at themes and sample books is free; before the book is finalized each student has a seat, which either the organizer buys as a class pack or each student buys their own, and prices are shown in the app. Printing is optional: the school can send a print request and our team returns with a quote and handles the printing. You can see how it works for schools on the schools page and for families on the parents page, and everything the app offers is on the features page. Running message collection, theme, print quote and proof with your own tools is entirely possible too, and this guide suggests the same order either way. How well a yearbook turns out depends less on the tool and more on how carefully you keep to the calendar and the consents.
Frequently asked questions
When should you start making a graduation yearbook?
Starting about eight weeks before graduation gives you a comfortable schedule. If you are going to a printer, ask about turnaround time at the very start, because printing often takes longer than expected.
Who should start the yearbook: a teacher or a class representative?
Either can, and ideally the two work together. The teacher can handle checking and suitability, and the class representative can handle collecting and reminders. For students under 18, parental information and consent are also needed.
Do you need parental consent for student photos in a yearbook?
Yes. A student’s photo and name are personal data, and for anyone under 18 a parent’s consent should be obtained. For a child whose parent does not consent, you can use a solution such as showing their initials instead of a photo.
Does a yearbook have to be printed?
No. A digital yearbook and a PDF stay in everyone’s pocket. If people love a printed book, you can order a print run as well. The two do not exclude each other.
What if some students receive very few messages?
Keep track of how many messages each student has received, and ask classmates to volunteer messages for those with few. Nobody’s page should be empty or thin, and you need to check this well before the yearbook closes.
Make your yearbook with Kepyil.
Everyone writes to everyone, messages are checked, and every approved message goes in the book. Try it now with a sample school.